
So during the New Years weekend this January (yes, we redid the half bath in our townhouse during a New Years weekend once before) we decided to rip out the outdated bathroom that's on the main floor of our house. It had 80's particle-board sink and carpet...need I say more? We decided to lay a slate colored ceramic tile in the bathroom. We didn't just stop there, we pulled up the existing grey 6x6 tile that was the walkway from the kitchen to the garage door, that runs in front of the bathroom.
This was our first tiling project but we felt confident that we could do it. Bobby researched the tile saws and made the purchase to make the job easier (we figure that with the other 2 bathrooms and the tile from the front door running towards the kitchen that needs to be upgraded at some point - we will more than get our $'s worth out of the purchase. At this point we've even loaned it out to different 2 friends to complete a kitchen & bathroom project).
Here is what we started with, the bathroom as it was when we bought the house.

Here's a shot of the walkway from kitchen, step down into family room. The garage door straight ahead, the first door on left is the bathroom and the next door is the laundry room. It had a 6x6 commercial grade (at least it looked it) tile floor in the walkway, the bathroom had blue carpet. [yuck]

So the demo begins:


Next we scraped the floor clear of any debris, then we sealed it with an incredibly stinky pink primer sealer. Then started laying the tile down.


We laid 12x12 tiles down, so I used a sheet of 12x12 scrapbook cardstock and cut even thin strips of 1/4" thick all the way up the paper stopping about an inch from the top to use as a template to figure out cuts. I would just lay it down like the tile would be, then bent the little strips back until it would fit perfectly. I'd then trace the template shape onto the tile. Bobby would then cut the tile out in the garage.

I don't have pictures of us back buttering the tiles with mortar because as we started that step, I got smacked with a horrible case of the stomach flu and was incapacitated. Bobby had to complete that part of the process by himself, so he was up until the wee hours of the morning. So it was my job to grout the tile the next morning. It was a grey color, which it doesn't look it in this picture here.

Bobby repaired the walls (evidence of drywall dust in the photo below) and painted them Anonymous (780F-5) by Behr.

We lost the medicine cabinet going with a traditional mirror, so I asked Bobby to create a cabinet that would fit between the studs & be hidden behind the door. This provides extra storage while keeping the bathroom nice and sleek. First he cut the opening between the studs.

He actually created the cabinet like a little box in the garage, brought it in and slid it into it's designated spot and nailed it into place. He used his router to create the door for my new cabinet. Talk about custom cabinetry! You can see it to the left of the (primed) door.

The bathroom is 90% complete at this point. We installed all new fixtures. The pedestal sink visually opens the room. The sink top extends out the same amount of the previous sink, but you would never know it! We had planned on keeping the existing toilet, but decided to replace it with a Kohler that has great flushing capabilities but still not a water hog. We picked up a simple light fixture that has 3 sconces in the matching oil rubbed bronze (ORB) finish.
I love my new large framed mirror with beveled edges. The ORB finish on the towel ring, faucet, paper holder, light switch, electric face looks so sharp, we even upgraded the handle on toilet.


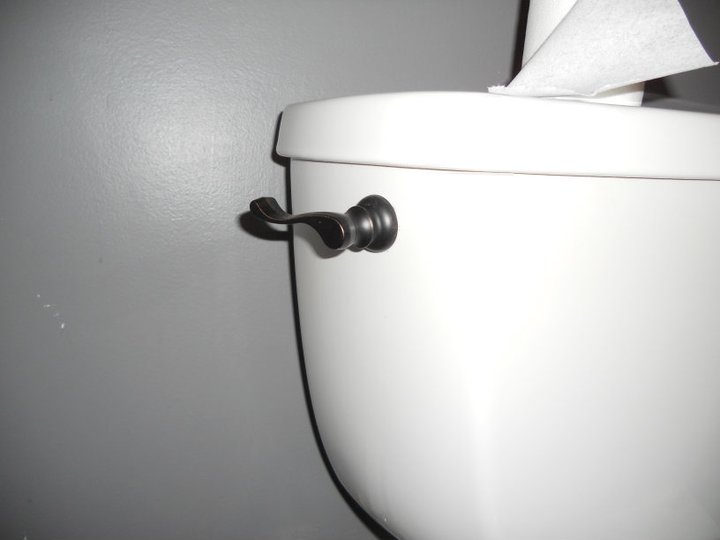
I love the ease of this holder. Now there is no excuses for any family member to not replace the toilet paper! :)

We have to add the crown molding, touch up wall paint and trim out the edge of the wall cabinet, but this looks so much better than what we started out with! Oh, we have installed a curtain, but it's not pictured here.

1 comment:
I've seen this bathroom in person :p Very nice, and I love how you detailed the process here.
I always thought my favorite finish on knobs, handles, etc was a brushed nickel or pewter, but these almost made me change my mind.
Post a Comment